Pages

Showing posts with label Triangle Quilt Along. Show all posts

Sunday, 25 May 2014

Free Baby Sewing Projects + More Great Blog Events

There is so much going on in Blog Land you can't miss. First of all there's the Oh Sew Baby! series over at Fort Worth Fabric Studio. This is especially exciting for me because the super talented Lindsey has invited me to guest post a Baby Sewing Tutorial for this special series. And I'm also looking forward to the Linky for all Baby Sewing Tutorials: starting on May 27 the Fort Worth Fabric Studio blog is opening a linky party for anyone who wants to link up any old or new baby related tutorial. Linking up you have the chance of winning a $50 gift certificate for their shop! I can't wait to see all the tutorials, I love seeing new ideas/excuses for sewing for babies!

Fort Worth Fabric Studio Blog


Everybody in Quilting Blog Land knows about the Blogger's Quilt Festival! Now the voting is open and it's time to chose my favourite entries!
I've entered the Mini Quilts category and here's the post with the story of my Triangle Fabric Mountains. You can vote here for the Mini Quilts Category!


AmysCreativeSide.com

Heidi at Fabric Mutt is starting a new Quilt Along: The Graph Paper Quilt Along and it's all about using squares. I really like the idea that you can join and make a quilt or small projects. This is going to be really fun! The Quilt along starts the 29th of May.

Fabric Mutt


Starting on the 2nd of June is the Perfect Picnic Blog Hop. There will be loads of inspiration for picnic quilts and for a yummy Picnic Menu too, all included! One picnic the weather isn't going to stop!

Mary has the Schedule for our PICNIC hop...

The full picnic plan is here!


Follow on Bloglovin


Saturday, 17 May 2014

Story of the Triangle Fabric Mountains Mini Quilt - Blogger's Quilt Festival

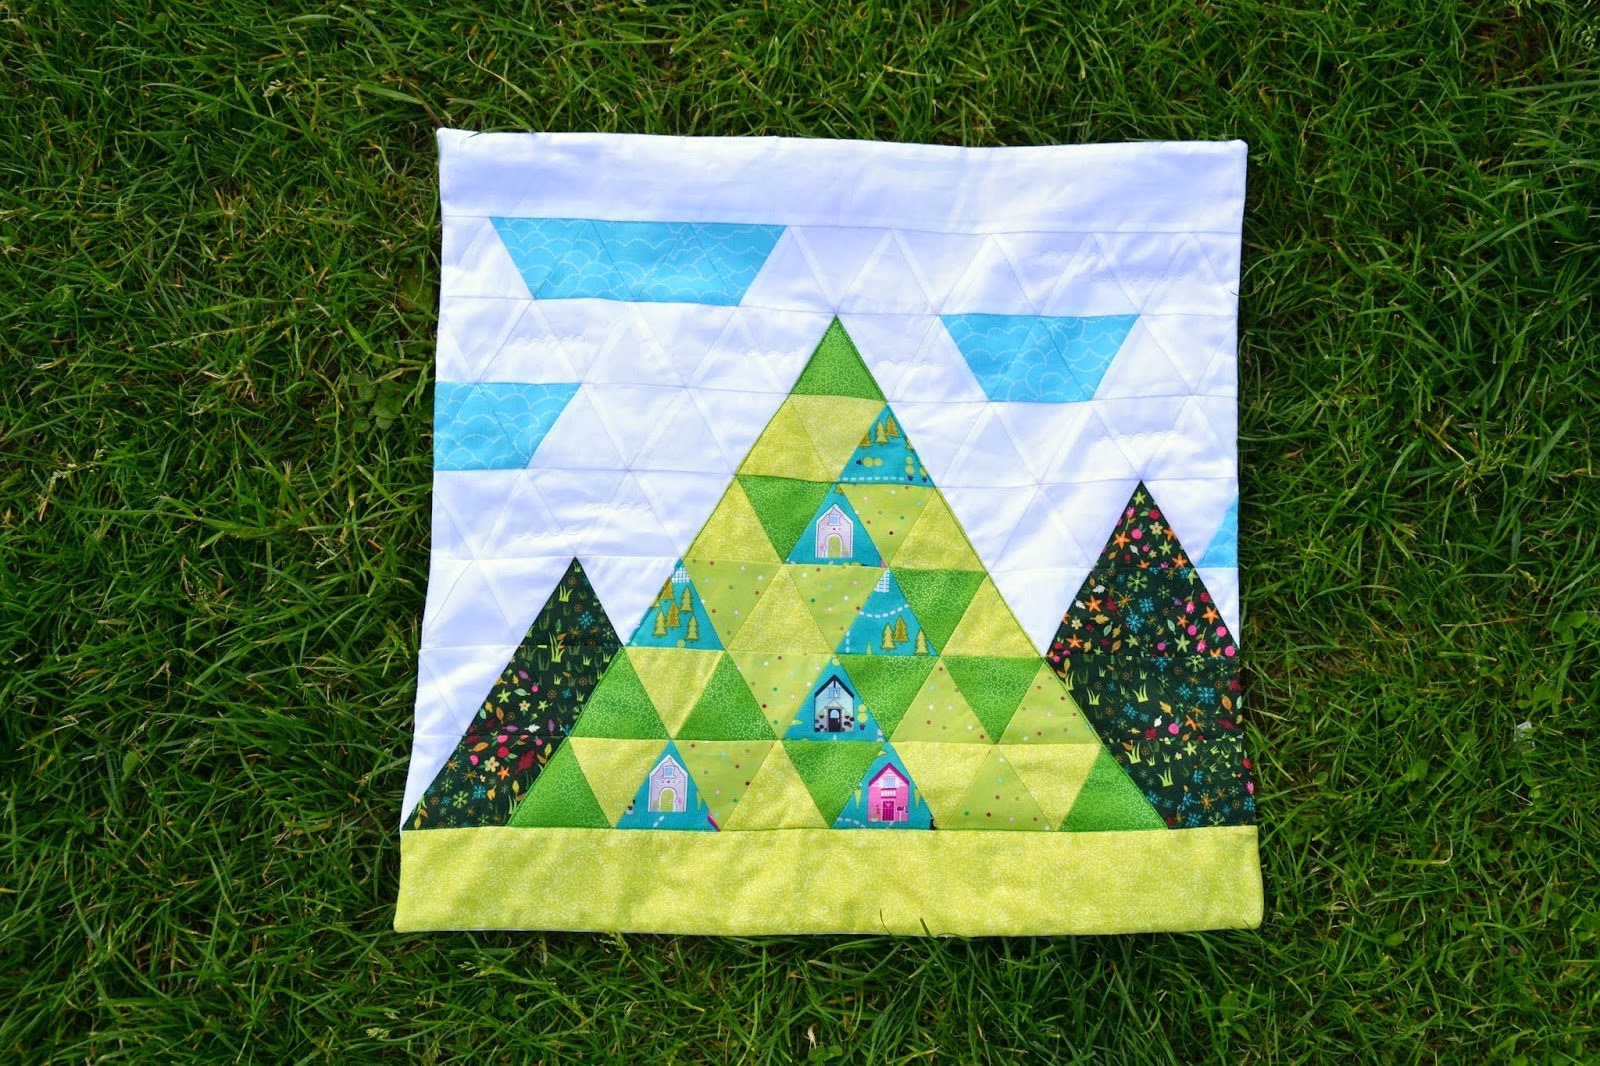
Blogger's Quilt Festival time and I thought: oh, why not join in the fun?! I'm participating with my Triangle Fabric Mountains mini quilt, celebrating the beautiful mountains of Lake Maggiore, in the north of Italy.


I got the idea for the design of this quilt after I joined the Library Project Quilt Along over at Adrienne's Chezzetcook Quilts and decided to add a triangle quilt to my challenges for the Quilt Along. I had seen Jeni Baker's equilateral triangle quilt pattern "Trios Lap Quilt" in issue 1 of Love Patchwork & Quilting and was curious about piecing triangles.


And here's the sketch I made of an idea I had for a baby quilt using triangles to make a mountain scene. I sometimes draw on odd bits of paper or serviettes and then stick the drawings in my note book. This sketch is particularly scruffy! But it's funny how the main idea hasn't changed at all.


Then Paula at The Sassy Quilter hosted the fun Triangle Quilt Along and I thought it would be helpful to have a tight schedule for making my baby quilt, which in the meantime became a mini quilt.
So this pile of triangles:


got this long but very useful "tip cutting off" treatment:


And I thought I was going to go mad sewing 119 3" triangles, but when the rows started coming together I saw it was worth the trouble:


The final result:


The quilting is just around the mountains and the "cloud" machine embroidery on the white background fabric.

Title: Triangle Fabric Mountains mini quilt:
Size:  20.5" x 20.5", with 119 3" triangles
Fabrics: mainly Ever Kelly's Storybook Lane for Andover Fabrics
Quilt design: my own!
No binding!
All the Lake photos are by Daniele Di Ciccio.


I would love for you to vote for my Triangle Fabric Mountains mini quilt

And don't miss visiting all the categories of the Blogger's Quilt Festival:

AmysCreativeSide.com


Follow on Bloglovin


Wednesday, 7 May 2014

4 Ways to Sew Triangles and new challenges

April was full of triangles! Lots of them, in different sizes and in completely different projects:


The DIY Triangle Pincushion (with Tutorial):


Looking forward to working on some fun projects in May. One is the Briar Rose Challenge that the lovely Kris and Becca have organised over at Quilt Sandwich Fabrics. Can't wait to receive the fabric to start on my project!


Linking up with:
Lily's Quilts

Follow on Bloglovin


Friday, 2 May 2014

Triangle Quilt Along: Triangle Fabric Mountains

Here's the mini quilt I made for the Triangle Quilt Along. Inspired by the mountains where I live, I couldn't resist having the photos taken at the Lake. Of course I chose a very windy day! We risked the quilt flying away a few times and I had to borrow a jacket from Ella because it was freezing! 


This is Lake Maggiore, in the north of Italy. You can see Isola Madre (Mother Island) in front of the mountains. The sun was setting and a storm was coming... Only a few hours earlier it was sunny and warm, in case you were wondering!


Title: Triangle Fabric Mountains mini quilt:
Size:  20.5" x 20.5", with 119 3" triangles
Fabrics: mainly Ever Kelly's Storybook Lane for Andover Fabrics
Quilt design: my own!
No binding!


The quilting is just around the mountains and the "cloud" machine embroidery on the white background fabric.


Just added this photo to prove how windy it was! Thank you to Daniele Di Ciccio for managing to take these great photos in such difficult conditions. And thank you to Ella for helping!


Joining the final link up over at Paula's The Sassy Quilter. She's been fantastic, encouraging and posting very clear tutorials for the Triangle Quilt Along. Thank you Paula!

The Sassy Quilter


Linking up with A Stitch in Time and this is also my second finish for the Q2 FAL2014!

May Finishes

Finish Along 2014


Follow on Bloglovin


Thursday, 1 May 2014

How to make a Triangle Pincushion - Tutorial

The triangle fever has hit me and after making Triangle Fabric Jewellery I couldn't stop myself from making this fun and really easy Triangle Pincushion. Here's a tutorial so you can make one for yourself!


Here is what you need to make the Triangle Pincushion:
  • 4 pieces of different fabric, each one sized at least 3.5" x 4.5". You can use a charm if you like, which is 5"x5". Charms make cutting even quicker;
  • 1 piece of fabric for the backing 8"x8";
  • Pincushion filling (crushed walnut shells if you want to give some weight to the pincushion and sharpen your pins at the same time!);
  • Any embellishment you’d like to use: trims, ribbons, charms, buttons...
Seam allowances are always 1/4".

Before starting, iron and starch your fabric. Use a lot of starch, it's worth it! Now start cutting your triangles. First cut your fabric to 3.5" in height and then, using the 60 degree lines on your mat cut the sides to make the triangle. 
To do this place your piece of fabric with one corner against the 60 degree line and the bottom edge on one of the horizontal lines on the mat. Cut along the 60 degree line and then move the piece of fabric against the 60 degree line on the opposite side, lining up the top point of the triangle and cutting.


Lay out the four triangles in the order you've chosen and then cut off one tip of each triangle, as shown in the photo. This makes it easier to sew the triangles together.
Now sew the bottom three triangles together, lining up the sides. Then sew the top triangle, making sure to centre it on top of the other three triangles.


Press and place the pieced front onto the backing fabric, right sides together. If you want to add trims and ribbons add them now, placing them in between the two fabrics. You can use pins to keep them in place. Now sew around the edge leaving an opening for turning. Make sure you don't lose the tips of your triangles when sewing around the edge (sew exactly on the cross formed by the two sewing lines where you've joined the triangles). Don't leave the opening near where you've placed your ribbons. 


Cut off the excess fabric leaving the 1/4" seam allowance. Trim the fabric diagonally around the points to reduce bulk.


Turn right side out, using a chop stick (this is my favourite tool but you can use any other blunt pointed tool) to help you turn the points out. Stuff with your favourite pincushion filling and sew the opening closed.

And here it is, your finished Triangle Pincushion!


Wow! Look how precise that triangle point is, I can't believe it myself!


Love it how the backing (Essex Yarn Dyed in Black) blends in with the stone! I've been wanting to use that scissor charm for a while and I think it's found the right place now.

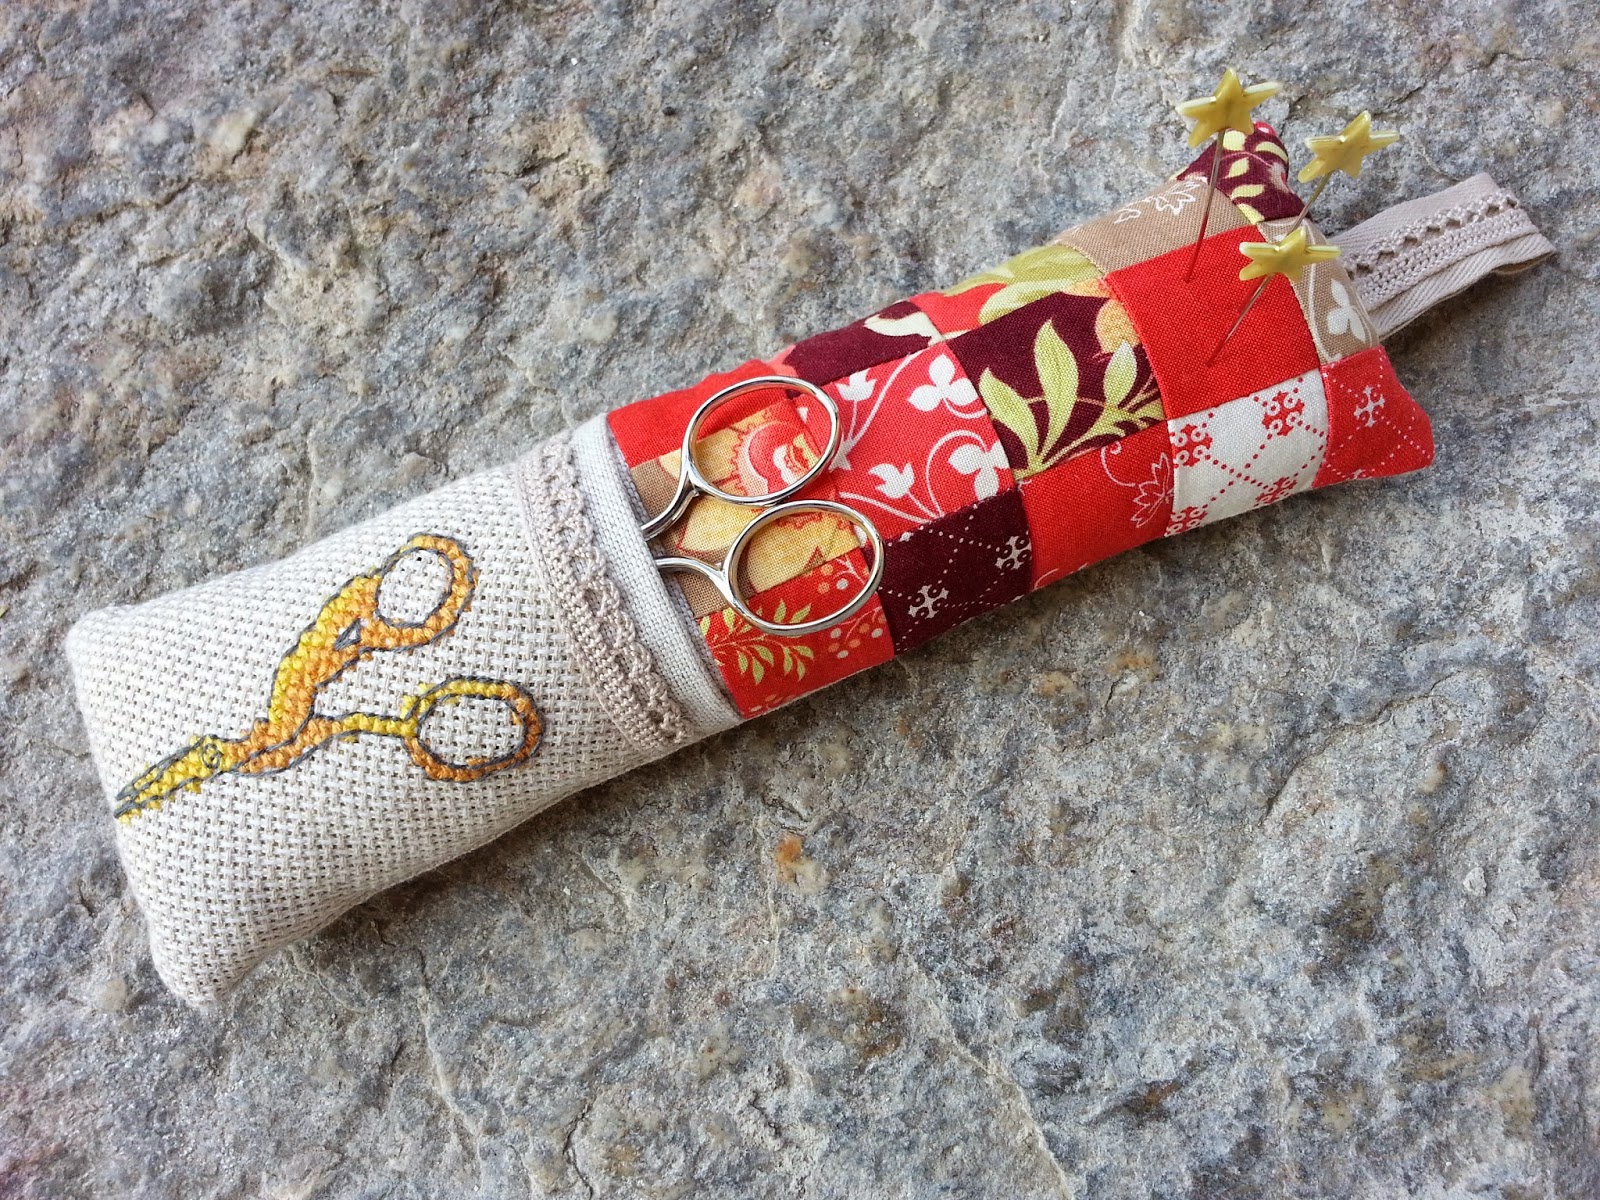
I've realised I've been making a few pincushions lately! They are so fun to make and you can experiment with different techniques and shapes:


Would love to see a photo of your Triangle Pincushion if you make one! I'm definitely going to make another one soon, with lots of pink!

For learning how to use triangles for quilts, you can find some great tutorials at Paula's The Sassy Quilter and at Lorna's Sew Fresh Quilts.


Adding this pincushion to our One Block Project Flickr group. The Project is all about finding fun and useful ways of using single blocks!

Ella & Nesta’s Little Room


Follow on Bloglovin